Background
The purpose of a hatchery is the incubation and hatching of eggs to produce good quality chicks.
The basic requirements are a supply of good quality eggs that have been correctly stored; and the provision of the correct temperatures and humidity throughout the incubation and hatching process within an environment that is free of pathogenic bacteria, moulds and fungi.
Egg Selection
Check the eggs for cleanliness soon after collection. Save eggs that are free of clinging dirt or debris and those with a small amount of adhering dirt that can be easily removed. Never save dirty eggs for incubation. They can spread disease to other eggs and chicks. Incubate only eggs of average size. Excessively large eggs hatch poorly; small eggs hatch into small, unthrifty chicks. Do not incubate abnormally shaped eggs; they probably will not hatch. Discard all cracked or thin shelled eggs. These eggs do not retain the moisture needed for proper chick development. An egg grading is done based on contamination.
1. Clean eggs minimally contaminated - immediately wash and sanitise.
2. Moderately contaminated, wet and dirty eggs - Put to one side, wash and sanitise after Grade 1 eggs, then place on setter trays at the bottom of trolley.
3. Heavily contaminated eggs - dispose of.
Operators must clean hands between handling dirty eggs and washed or sanitized eggs.
Egg washing
If done it should be as soon as possible after collection and using solutions that are changed frequently so that disinfectants are still active. It is very easy for egg washing incorrectly done to spread bacterial and or fungal contamination between eggs and to carry infection through the shell. Heavily contaminated eggs should not be washed as they will rapidly use up all the disinfectant and will cross contaminate other eggs.
Egg storage
Eggs must be stored and set air cell up (small end down) or they will not hatch. The longer eggs are stored the lower the hatchability and the more critical the storage conditions become. Lower temperatures are favoured for longer storage. Ideal temperatures would be about 14-18oC and a relative humidity of 65-70%. From egg collection to setting, it is vital to prevent condensation on the eggs and in the environment as this will allow moulds and aspergillus to grow. If the atmosphere is too dry then excessive moisture loss will reduce hatch if storage is prolonged. If storage is more than 3-4 days then turning the eggs will help maintain hatchability.
Incubation process
If eggs have been stored at a fairly low temperature then they should be gradually warmed up (pre-warmed) prior to incubation. This is mainly to prevent condensation on the shell which will increase bacterial infections in the embryos. Pre incubation is often done by moving eggs from the store to the setter room. Setters are the incubators used for most of incubation. The eggs are then usually transferred into trays and put in a different incubator, a hatcher, for the last 3 days where they then hatch.
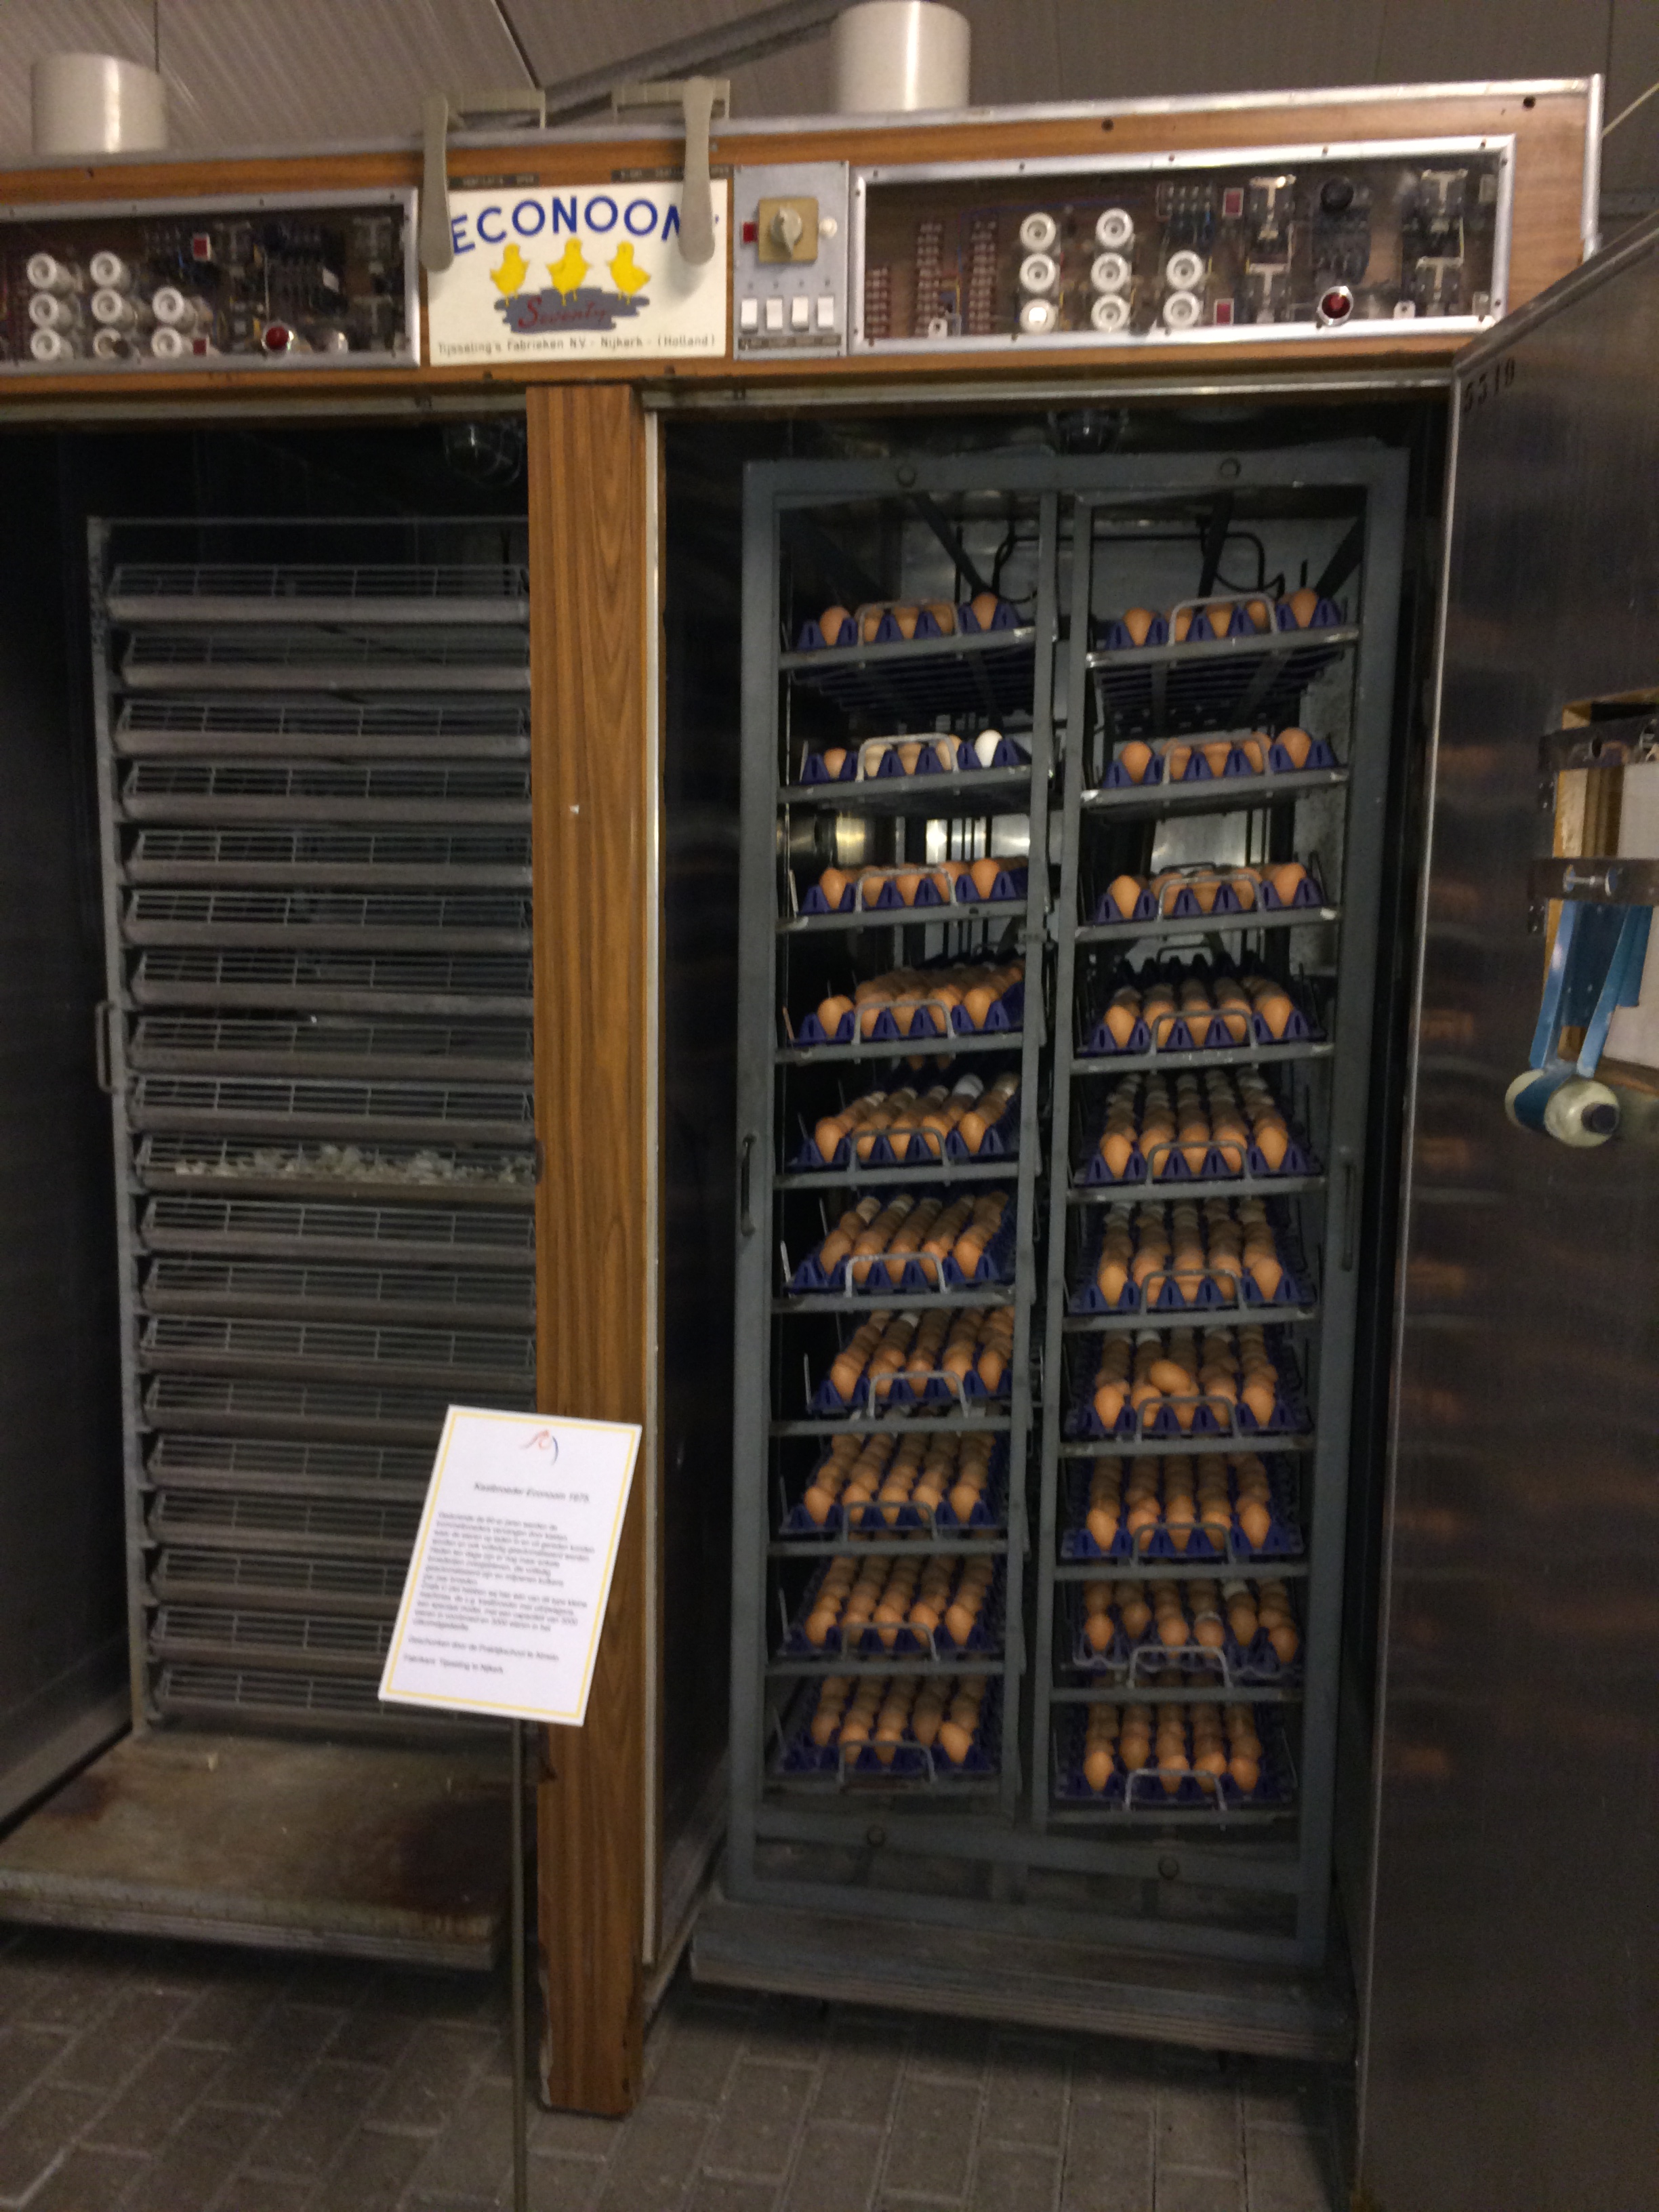
Setters and hatchers are available in many different models and sizes (Figs 1 and 2). There are two basic types of incubator, forced-air and still-air incubators. Still-air incubators are usually small but may hold 100 eggs or more as a single layer. They do not have fans and hatching will usually also occur in the same incubator. Forced-air incubators are much larger and will have internal fans to circulate the air. They can hold large numbers of eggs which are placed in stacks of trays. Most units have automatic equipment for turning the eggs and spray-mist nozzles for holding proper humidity levels. Setters can be divided into single or multistage units.

Fig 1 A very old setter and hatcher

Fig 2 A modern setter in a modern purpose built room
With multistage setters, eggs at various stages of incubation are held in the incubator and the conditions within the incubator should be constant. If a multi-age setter is loaded once a week with new eggs when the new eggs are put in the incubator it can be formaldehyde fumigated, as eggs incubated for 7 and 14 days will not be harmed by fumigation. Eggs at 10 days incubation should not be fumigated with formalin.
In a single stage setter, the eggs are all of the same incubation age, the conditions are set to vary during incubation and this should enable conditions at different stages of incubation to be optimal for maximum hatch. The setter can be thoroughly cleaned and disinfected after transfer before the next set of eggs are placed in the machine. Again, they can be fumigated when set.
Disease control
The temperatures and humidity of the incubators and hatchers are ideal for the growth and multiplication of bacteria, fungi and moulds. It is vital for the production of healthy chicks that the layout, management and airflow within the hatchery prevent these infections. Air must not move from the hatchers and chick processing areas back to the egg storage or the setters, as it will carry bacterial and fungal contamination. All air discharged from setters and hatchers should be directly out of the hatchery and this contaminated air must not be given the opportunity to spread infections through the hatchery. Very thorough cleaning and disinfection should be carried out of hatchers and hatcher rooms between hatches. For larger hatcheries fogging may be appropriate.
Formalin fumigation of eggs before and during incubation and also empty machines.
For fumigation of eggs prior to storage, it is common to use 1.35ml of 40% formalin solution and 0.84g potassium permanganate per cubic foot of air space. Empty incubators and hatchers may be fumigated using double this concentration. At setting and during incubation you should use a lower concentration (0.5ml 40% formalin and 0.2g).
When fumigating ensure that you have appropriate COSHH and H and S in place.
Hatcher fumigation
During the hatching process a lot of bacteria are released into the air, also the warm moist hatcher environment is ideally suited for the multiplication of pathogenic bacteria. The bacteria can infect the newly hatching chicks through the naval or by inhalation. Many hatchers have fans or are set up so that a damper can open once most chicks have emerged and drive fairly large volumes of air through the hatcher providing a cleaner environment. Control is partly by the use of fumigation with formaldehyde gas from the start of pipping to close to take off. A protocol that works in many machines is:
60mls of 40% formalin plus 45 mls of water per cubic metre hatcher volume placed in a container with an evaporative surface area of 50cm per cubic meter of hatcher volume. The trays should be put in the hatcher as soon as piping starts, this will achieve approximately 20ppm of formaldehyde gas in the hatcher during piping. Trays should be removed about 4 hours before pulling the chicks so as to reduce formaldehyde gas to a safe level for the operators.
Assessing Incubation
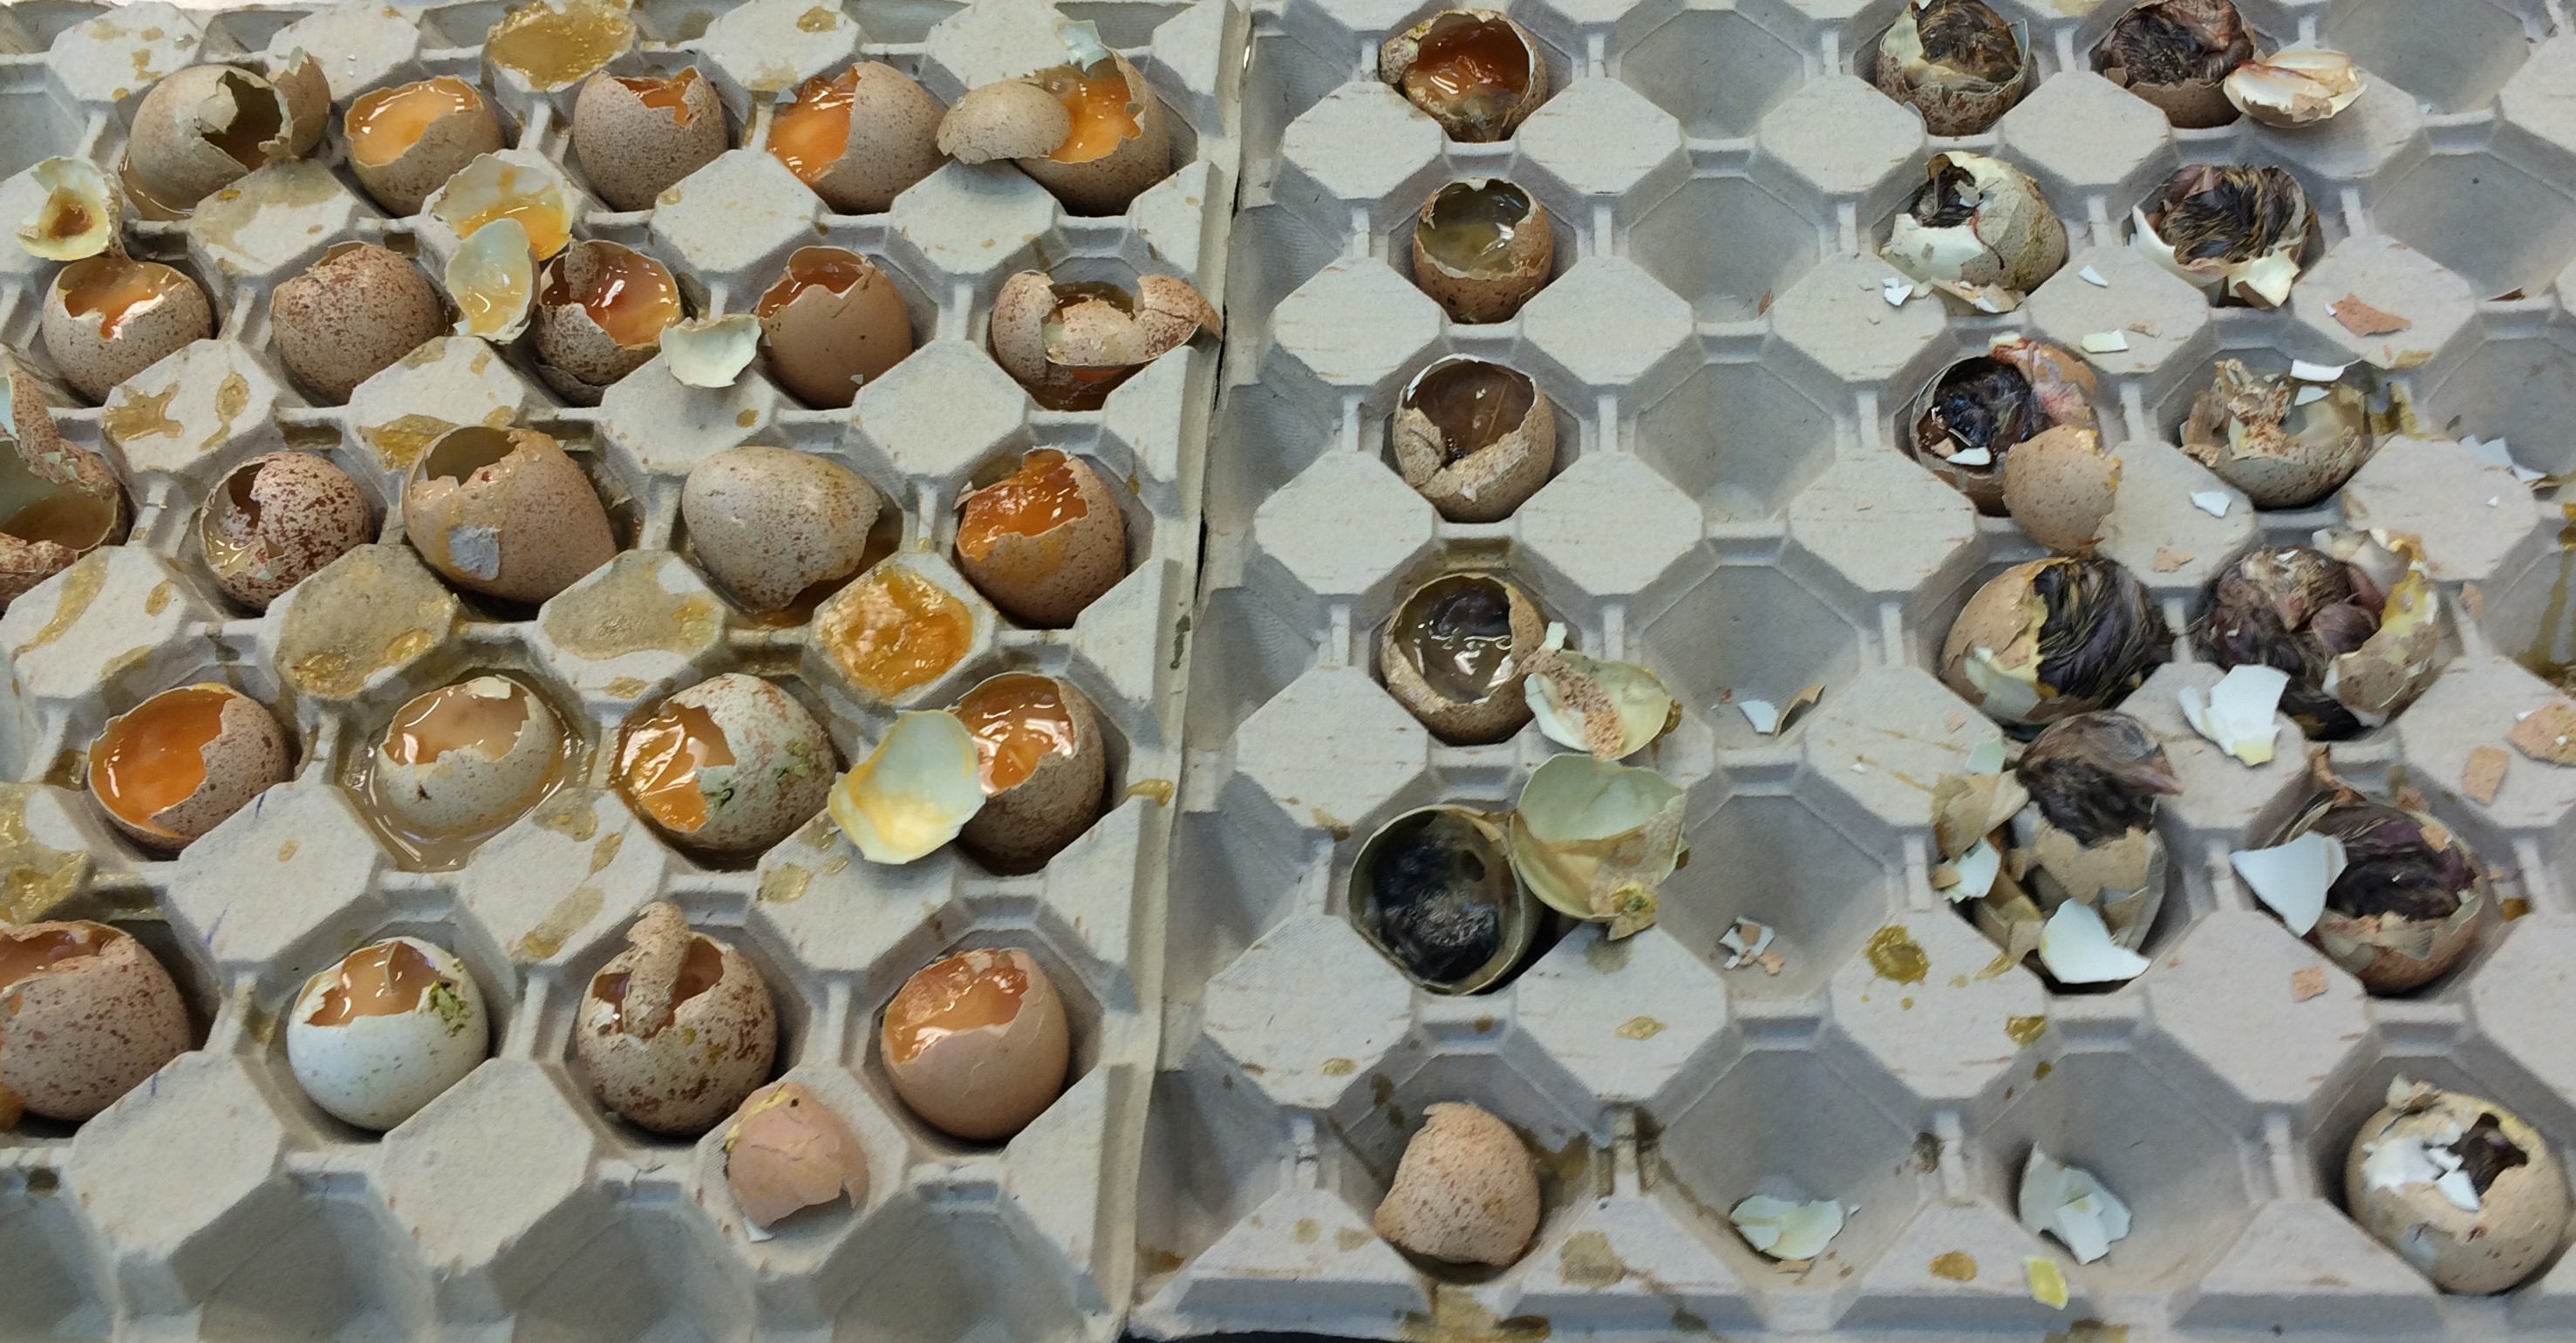
This is done by measuring and recording as many parameters as possible, from temperature and humidity in the egg store (Fig 3) for example. Egg weight loss from setting to transfer should be 12%, chick weight should be 67% of fresh egg weight. Hatchability should be monitored for every source of egg. Egg break-outs should be carried out whenever hatch is below anticipated and the proportion of early, mid and late dead determined (Fig 4). Hatch debris when chicks are pulled should be assessed for excessive dryness and meconium, suggesting chicks should be removed sooner from the hatcher. Candling may be used early in incubation (day 8) to assess likely hatchability and also gives the opportunity to remove infertile and early dead which creates more space in the setters.

Fig 3 Measuring and recording maximum and minimum temperature and humidity

Fig 4 Trays of eggs from a break out split into early, mid and late death
To assess causes of poor hatchability, it is useful to break open the unhatched eggs from a hatch and to assess the stage of incubation that they have died at. The normal pattern is about 40% early dead/ 40% late dead and the remainder mid dead. Early dead are usually a consequence of infertility or incorrect egg storage or transport conditions and late dead are likely to be due to incorrect incubator conditions. Mid dead are usually few in number and often due to bacterial infection, unless there has been an incubator breakdown ½ way through incubation. Where there are a lot of early dead it may be worth candling another hatch at about 8-11 days and doing a break out on the infertile/early dead; as these can be differentiated more easily at this time point.


