Before eggs are set
If you take clean eggs and incubate or hatch them in a dirty environment you will be putting enormous strain on the resultant chicks from the moment they are hatched.
The age old question about which came first, the chicken of the egg applies in this situation. Place dirty eggs in a clean hatchery or clean eggs in a dirty hatchery and you will inevitably end up with problems.
There are numerous texts about hatchery construction and management, so this is not the place to go into this in depth.
Fig 1: Bantams are traditionally used in hatching
You should first determine:
1 If you going to incubate eggs artificially or under bantams or hens? (Fig 1 - Yes some people are still doing that very successfully).
2 Where you are going to locate your hatchery.
3 If this be used for any other purpose.
4 Where you are going to source your eggs. (Home produced or bought-in)
5 Where you will store eggs if home-produced?
6 If bought-in, will you inspect the laying flock or are you assured that the eggs supplied will be, above all else, clean?
7 What your total target production will be.
8 How many hatches you intend to take off.
9 If you will produce more than one species from the same set-up.
10 If you want to avoid extra work at weekends.
11 If you will be "candling" your eggs during incubation.
12 If you will be able to weigh eggs during incubation.
13 How much extra help you will need on hatch day.
14 How you are going to handle your day-old chicks.
15 If you planning to vaccinate day-old chicks.
16 How you are going to handle hatchery waste.
17 If you have an outlet for surplus production. The list could go on and on, but it is important to stick to the basics to begin with.
Incubation time for the four major species involved
Planning when you start incubation is usually governed by when you want the chicks to hatch. They won't either wait or hold back for you if you plan your schedule so that you have major tasks (such as setting, transfer to the hatcher or taking off the chicks) that will fall at a weekend.
You should plan you programme according to the following incubation times.
Red Legged (French) Partridge 23 days
Pheasants 24 days
Grey (English) Partridges 24 days
Mallard 28 days
Disinfection of footwear (Figs 2 and 3)
The best thing to do is to have boots which are only used in the hatchery. It takes several minutes to properly disinfect a dirty boot!
Disinfectant foot baths can be used provided footwear is water proof. Another option is to use foam filled disinfectant pads. The disinfectant should be replenished regularly. It is better to use a foaming product as you get better penetration of the grooves on the soles and also the foam carries its own protective coat with it.
The efficiency of disinfectant foot baths is lost when contaminated with organic material.
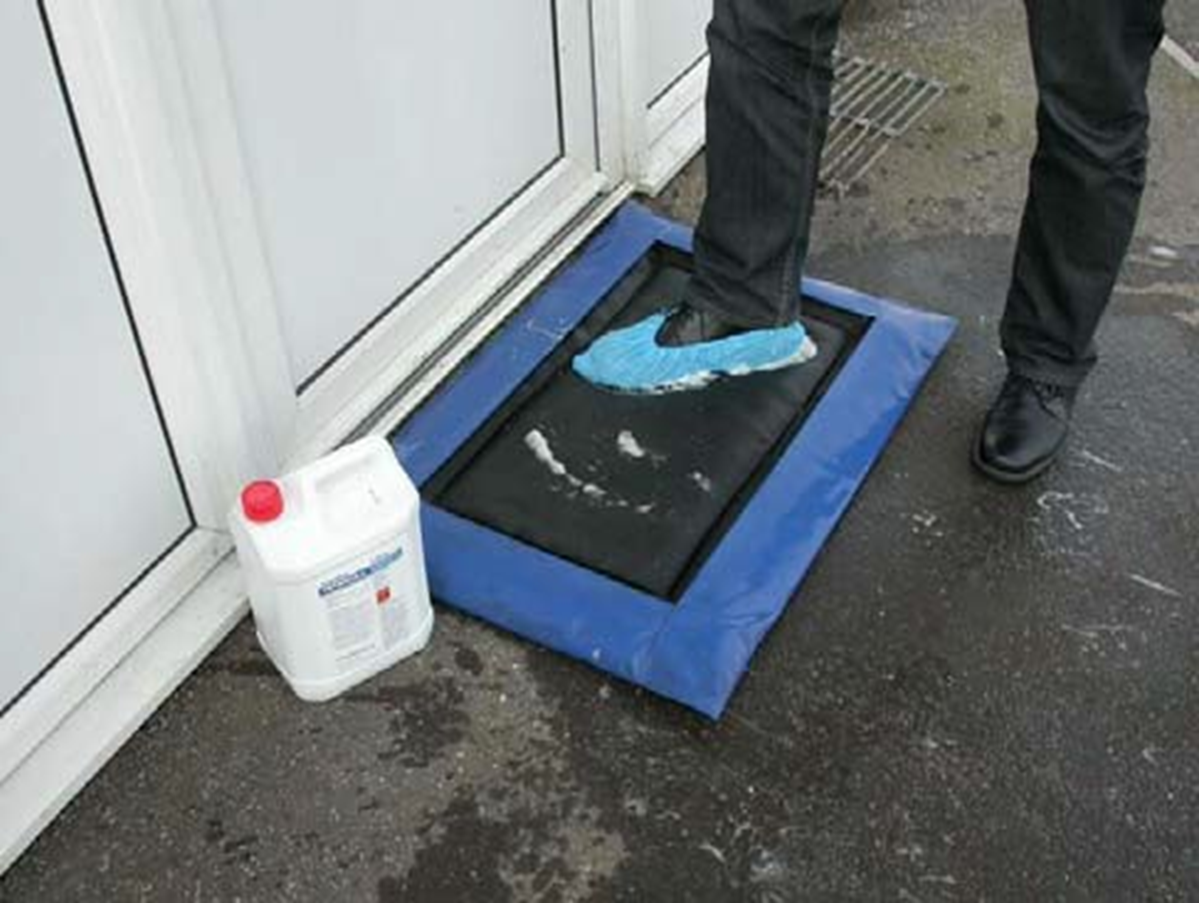
Fig 2: Disinfectant pads should create successful foam
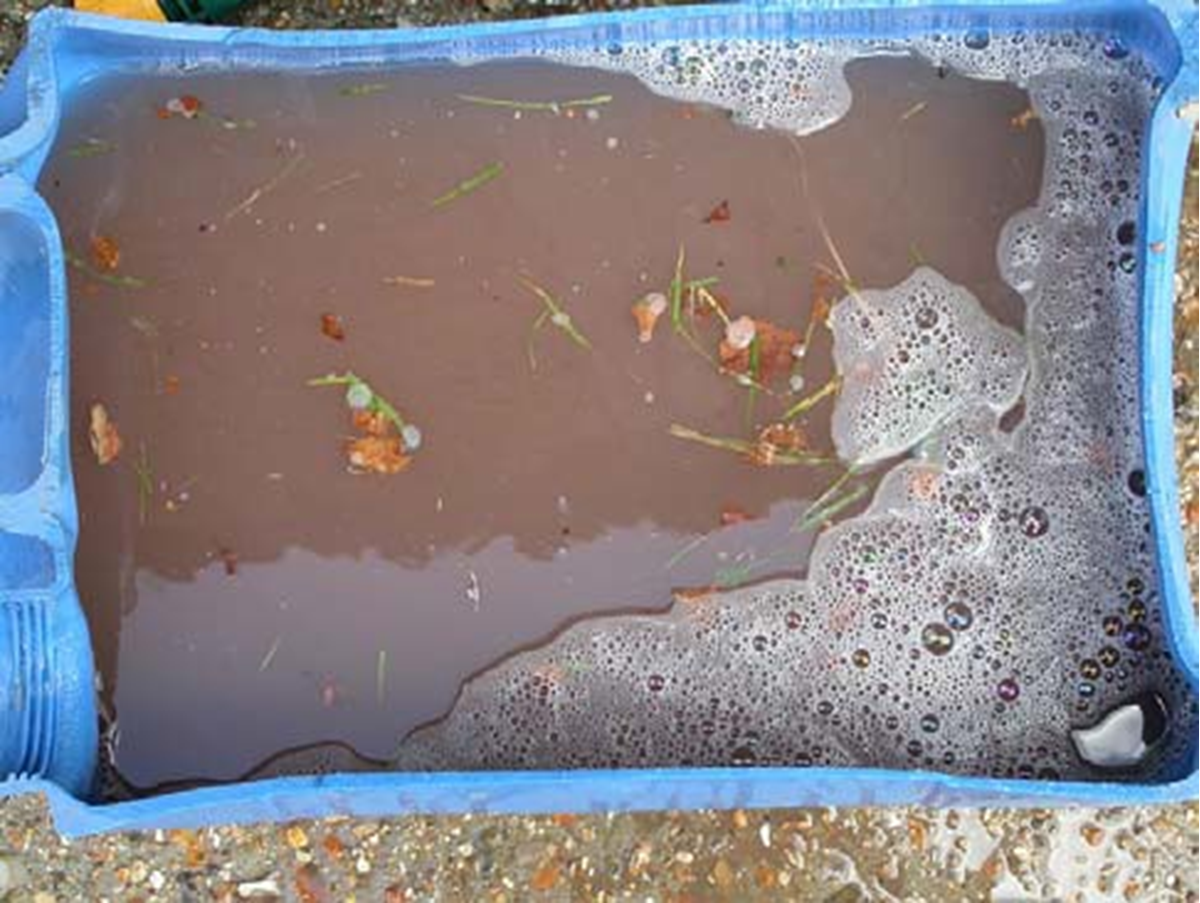
Fig 3: Once contaminated footbaths are of little use
The egg
In the laying pen it is critical that the hens have good nest sites that are clean and dry (Fig 4). These do not have to be sophisticated. Just remember that cleaning an egg after it has been laid dirty is no substitute for a clean-laid egg.
The first 15 to 20 minutes after an egg is laid is critical to the future well-being of the developing embryo. The protective cuticle on the outside of the egg is a remarkably good barrier to infection once this period has elapsed. Scrubbing the egg to remove accumulated dirt is likely to damage the cuticle and allow penetration of the shell by bacteria.
Having wild bird nests in the egg wash room should never happen (Fig 5).
This wash-room floor (Fig 6) had at some time been properly sealed, meaning that keeping it clean was a simple task. Once the seal is damaged it simply means that pockets of dirt will accumulate.
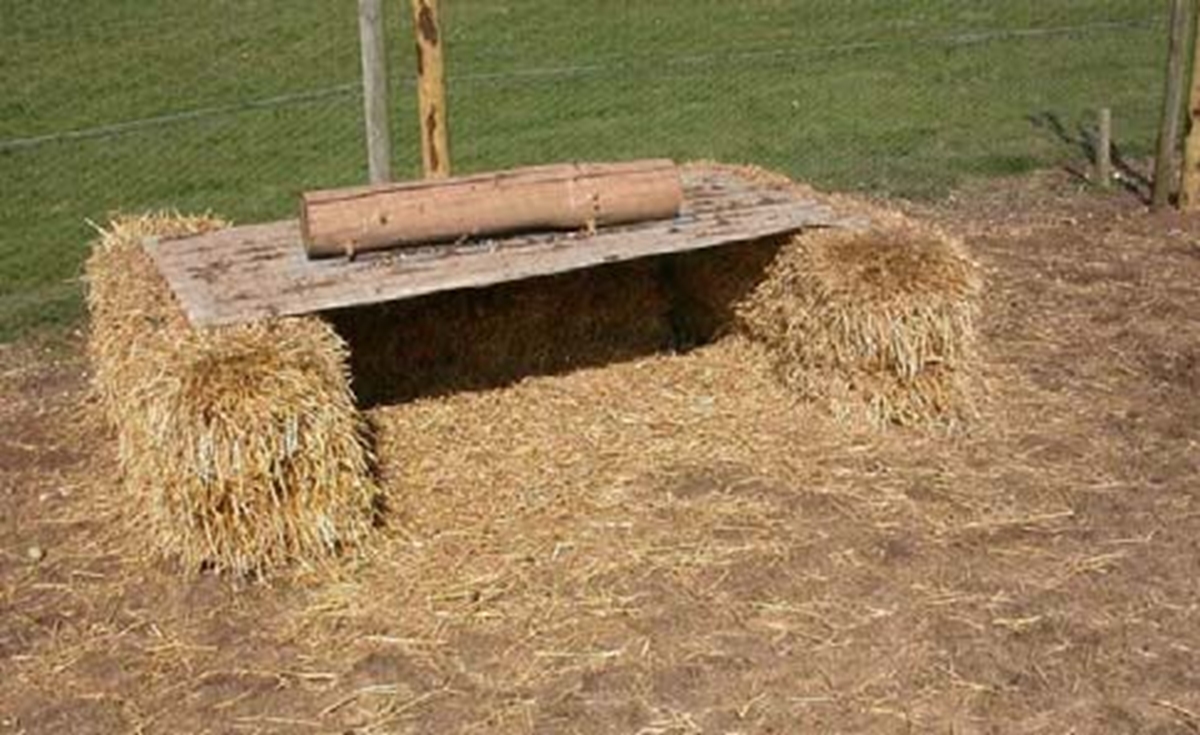
Fig 4: Clean eggs can be produced from simple systems
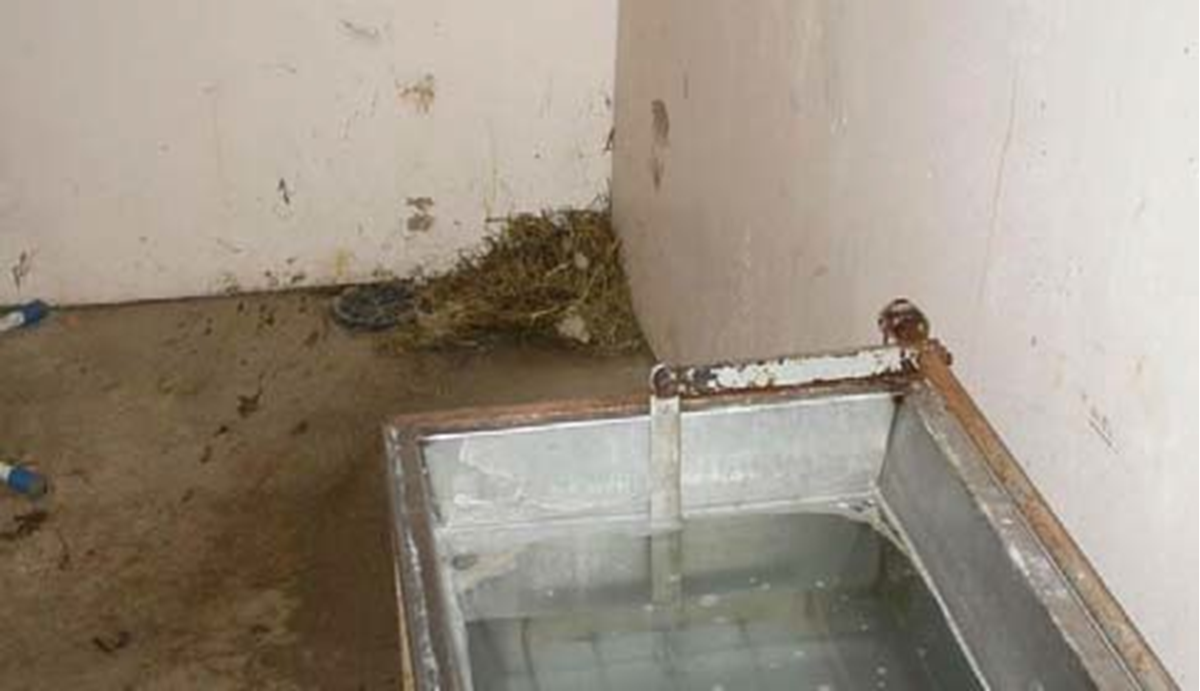
Fig 5: This duck nest blows a gaping hole in any pretence of bio-security
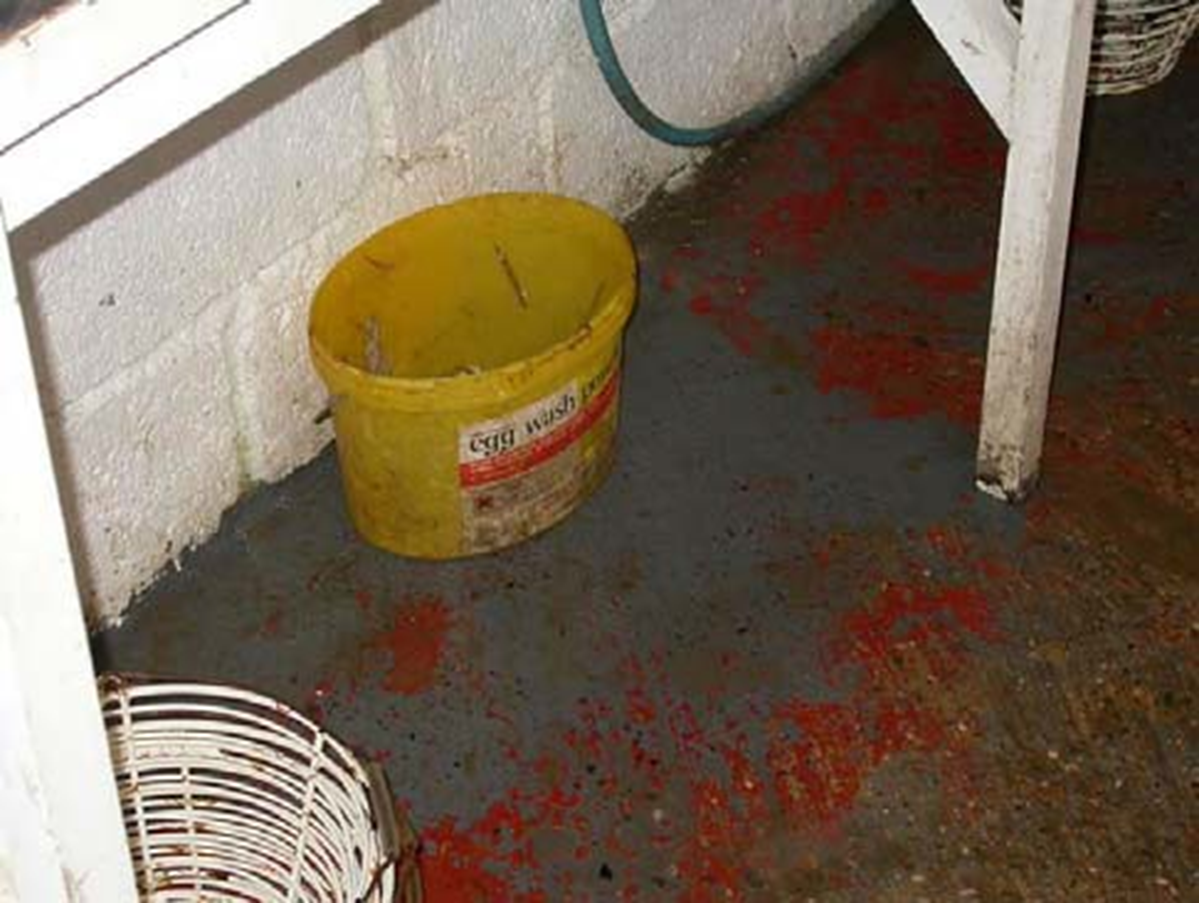
Fig 6: Floors should be properly sealed. Damaged sealing creates pockets of dirt
Take care with electrical equipment when being used close to a water supply (Fig 7). You should certainly NOT put egg washing machines in a sink. The risk of electrocution will be dramatically increased.
Take great care to ensure that the egg wash temperature is properly maintained. It should be at about 40°C and should not be allowed to fall below 30°C. If this happens organisms may be drawn into the egg. Follow the instructions on the bottle of sanitizer you use.
This towel (Fig 8) would have done little to improve the hygiene of the hands that handled the eggs!
Misting of eggs after washing is commonly carried out. Be sure that they are only misted and not soaked. If too much is used a droplet of liquid will gather at the bottom of the egg.
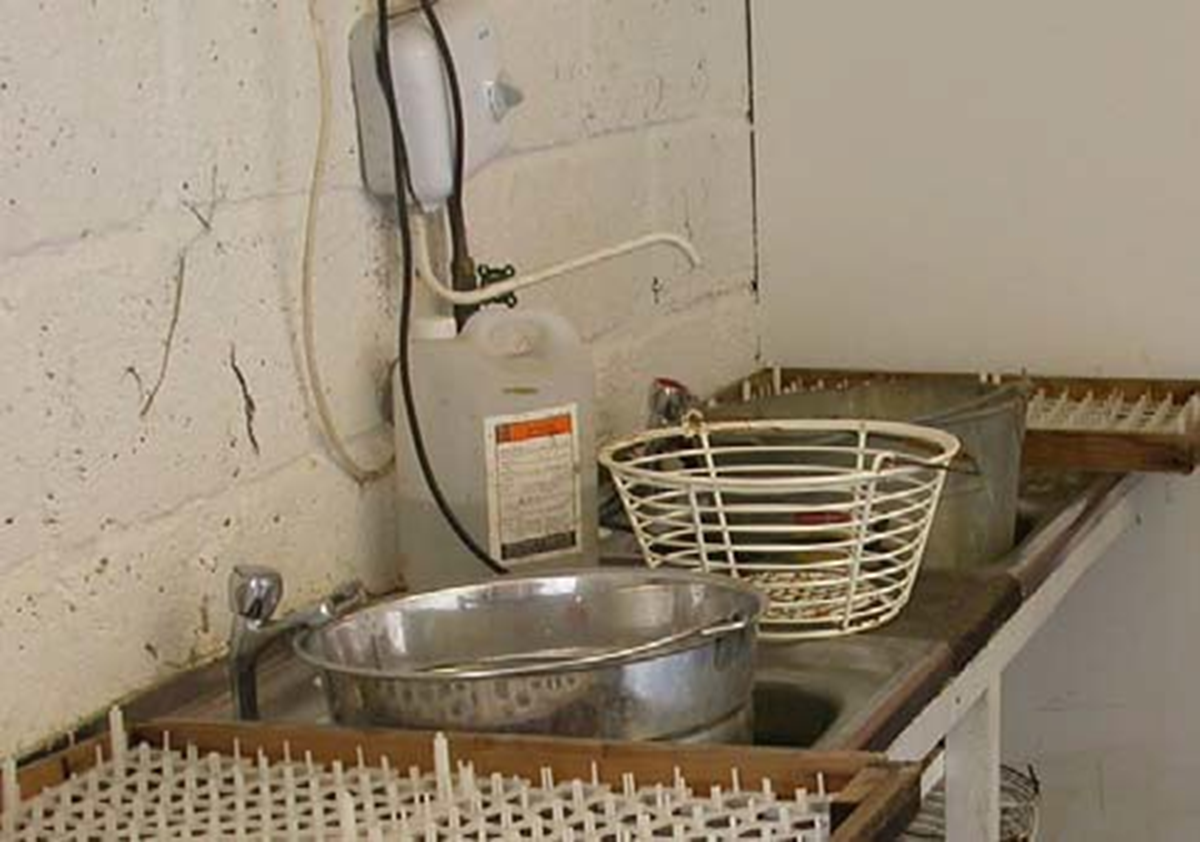
Fig 7: Great care must be taken to avoid electrocution
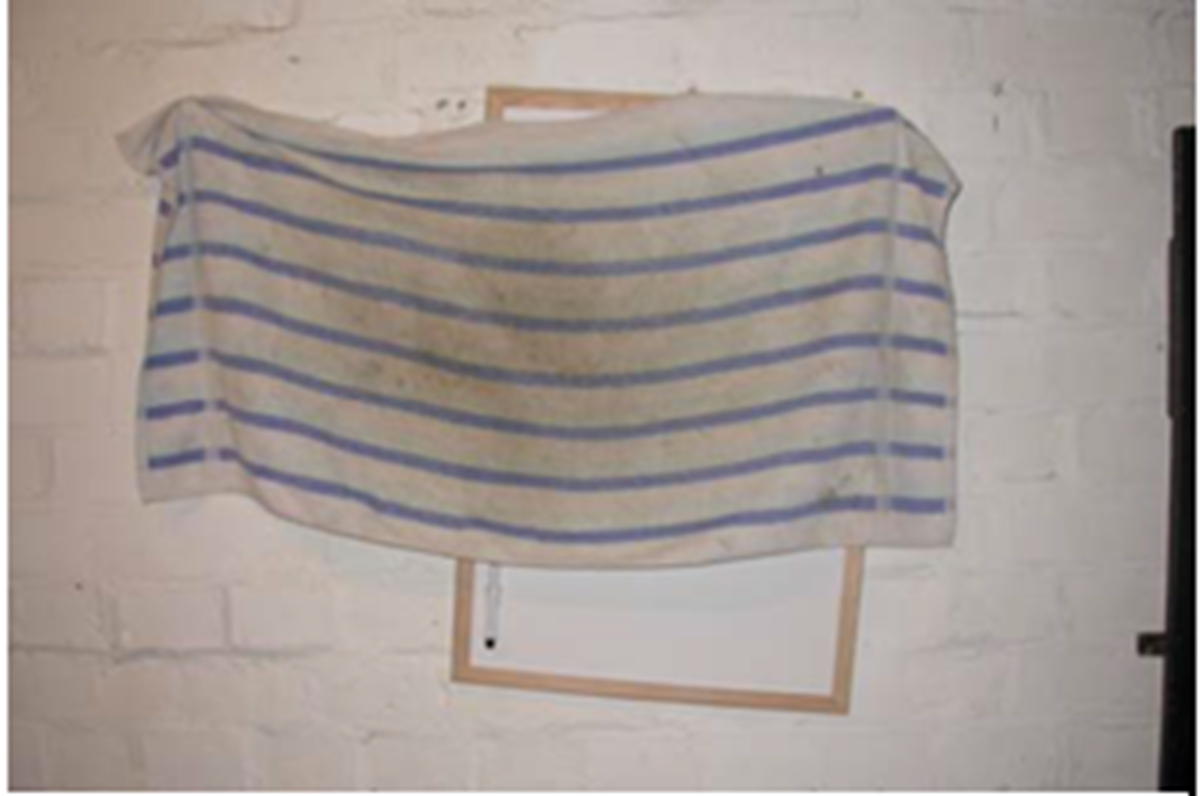
Fig 8: Use paper towels to avoid risk of re- contamination of your hands
Egg boxes
There is no excuse for egg boxes to be contaminated. If your supplier sends you eggs in boxes which are obviously contaminated with droppings (Fig 9) what hope is there for the eggs themselves being clean?
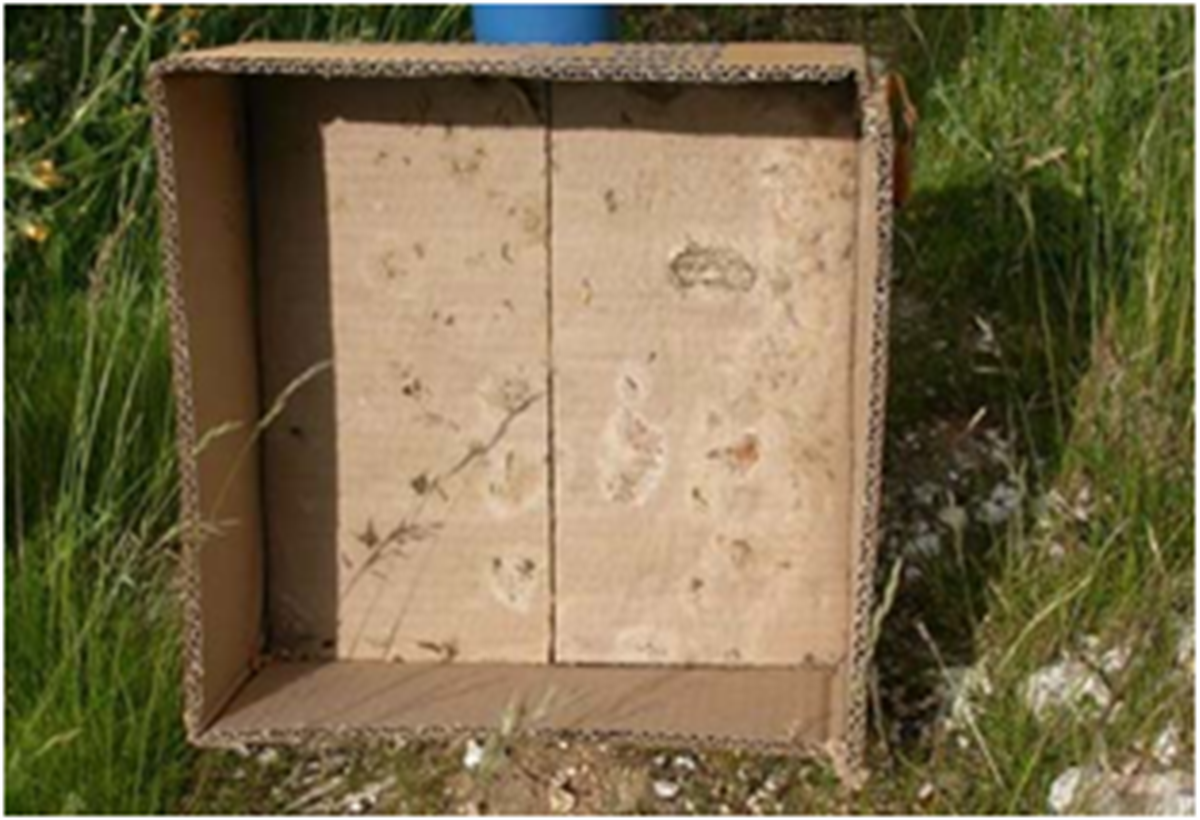
Fig 9: Dirty egg boxes can't contain clean eggs
The egg store
Eggs need to be stored in a space with even, cool temperature and high humidity. For storage for up to a week 15-18°C is fine, if eggs are being stored for longer, then the temperature should be reduced to 12°C. They should not be exposed to direct sunlight at any time during storage. Windows in the egg store will lead to hot zones in the store and reduced hatchability.
Handling eggs for setting
Ideally latex or synthetic gloves should be worn when setting eggs. However, this makes safe and speedy handling of the eggs difficult. All jewellery should be removed before handling eggs (Fig 10).
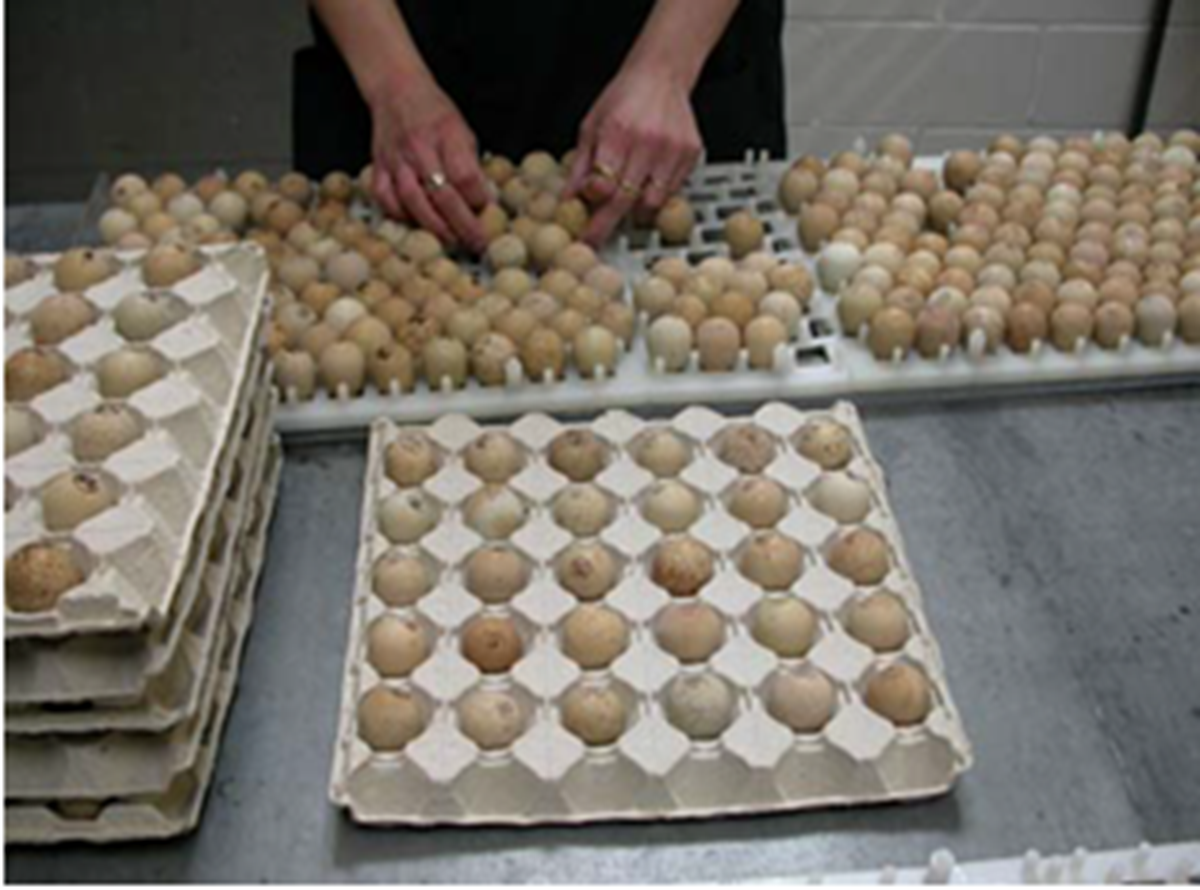
Fig 10: Rings should not be worn when handling eggs
Pre-warming
Most shoots have three week's hatching in the incubator at any one time. It is important that you don't "shock" the incubator when introducing a new week's eggs. This happens when you introduce a relatively large number of cool eggs to the incubator. The answer is to pre-warm the eggs in a warm room (23°C to 24°C) for 12 hours before placing them in the incubator.
Candling
Shining a bright light through the egg shell reveals a host of information about the viability and fertility of the egg. The various changes seen during incubation can ensure that only healthy eggs are transferred to the hatcher. Cracks in the shell, which would otherwise be invisible, can also be easily identified by candling. No eggs with cracks in the shell should be set to incubate as they are not only very unlikely to incubate successfully, but are much more likely to be infected, convert into "bangers" and seriously compromise the viability of the other set eggs.
The crack in this egg (Fig 11) might well have been detected by candling, reducing the risk of spreading infection through the incubator.
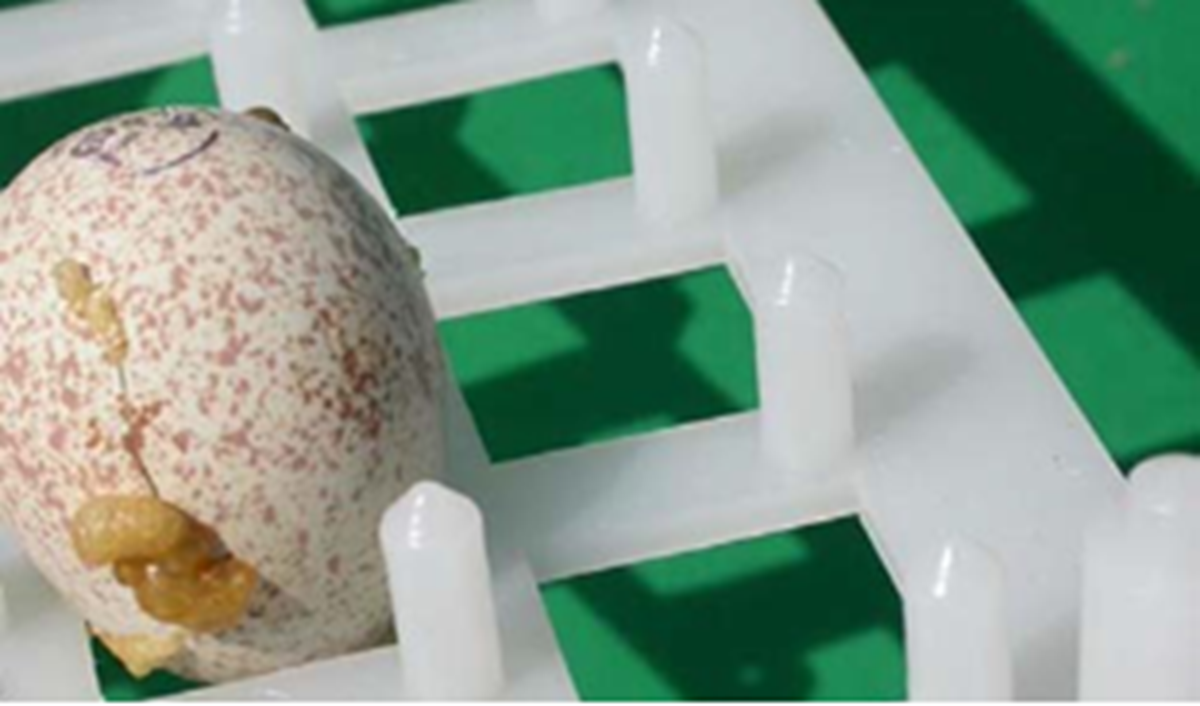
Fig 11: Candling should have eliminated this egg
Fumigation
One of the most common, and cost effective, methods of disinfection is formaldehyde fumigation (Fig 12). It is vital to remember that formaldehyde vapour is extremely toxic. You must never re-enter a building or room which has been fumigated using formaldehyde until the air has been completely replaced by either natural or forced ventilation. The only safe way of producing formaldehyde vapour is electrically heating prills. Mixing formalin with Potassium permanganate crystals not only could produce an explosive mixture, but also generates intense heat, thus increasing the risk of fire.
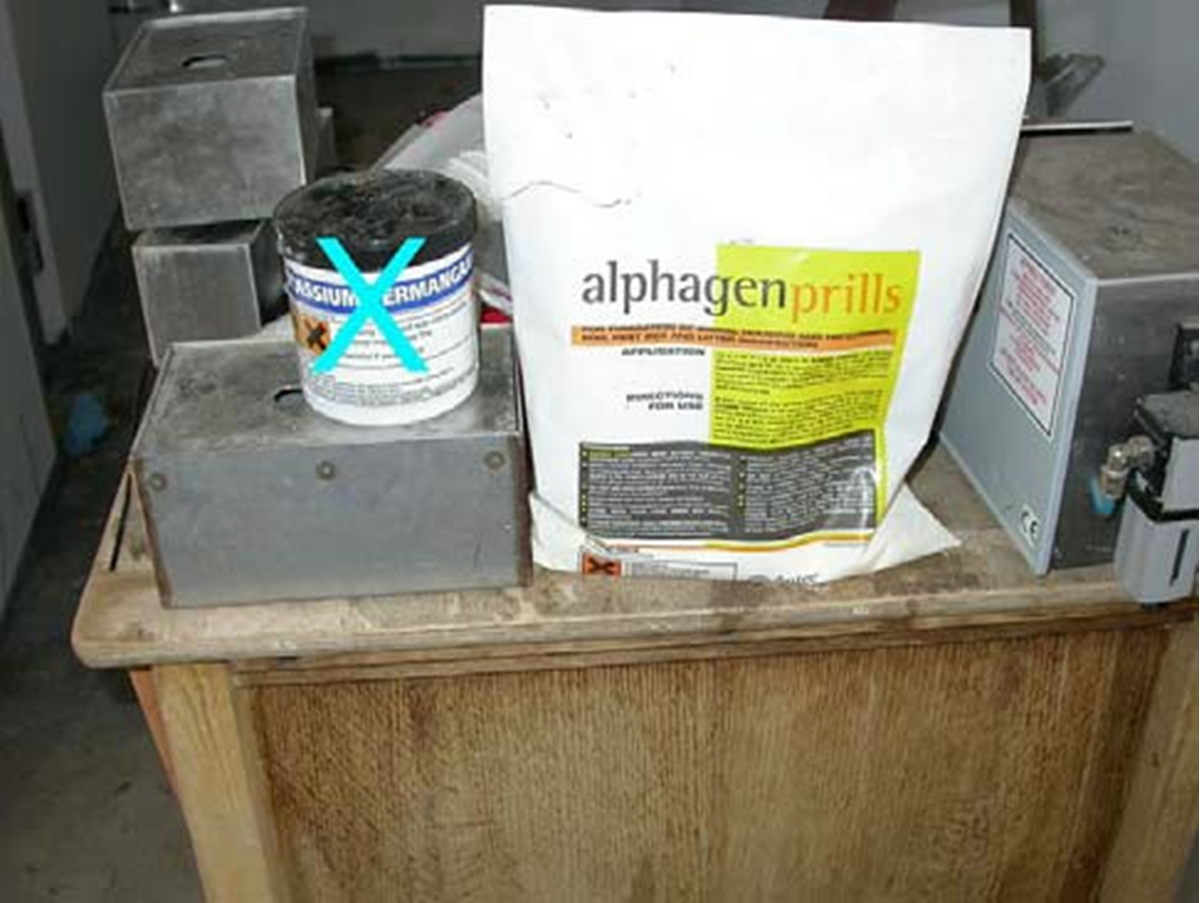
Fig 12: Formaldehyde fumigation must be safe for the operator
Provided great care is taken eggs can be successfully fumigated in the incubator. Always seek advice before doing this yourself. If you get it wrong you will kill the incubating chicks! Some people fumigate eggs on the day on which they are set. This means that 1 and 2 week incubated eggs will also be fumigated.
Eggs are sometimes sprayed in the incubator. Be absolutely scrupulous in your hygiene when doing this, as a contaminated spray is a supremely efficient way of spreading infection around the incubator (Fig 13).
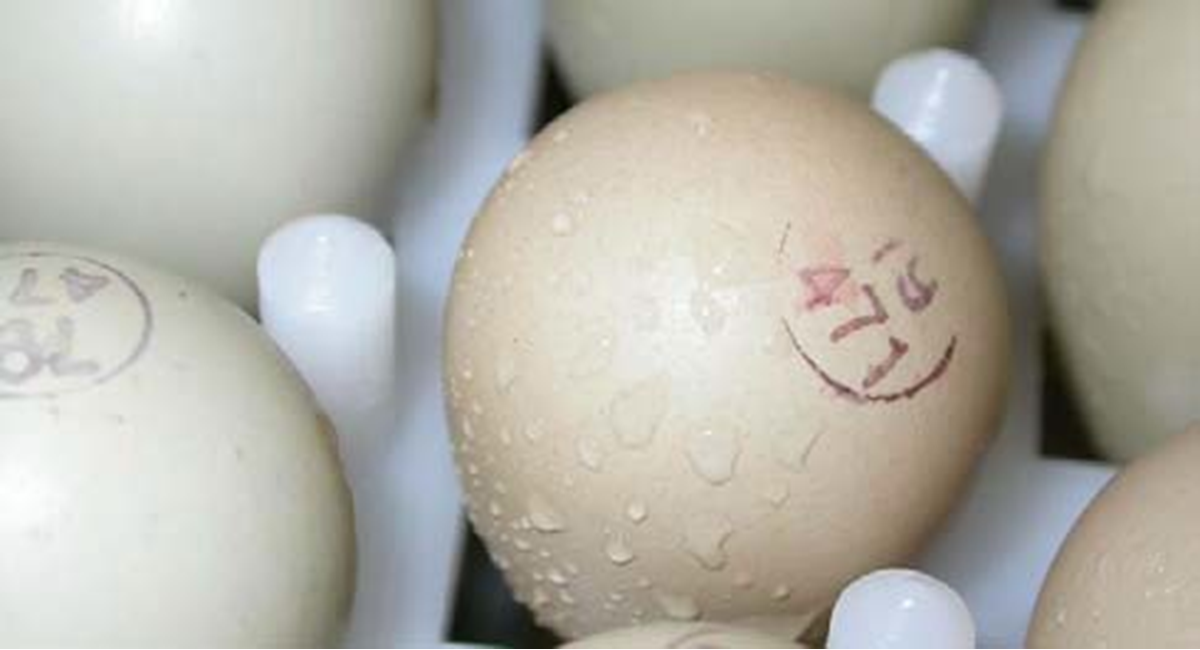
Fig 13: Take care that mists are clean
The setter
The setter (or hatcher) is only second to the wash room as a potential "dirty" zone. It is quite common to place an open tray of formalin solution in the hatcher to try to reduce this risk. Once again, great care must be taken. There is some suggestion that the irritant effect of the vapour on the trachea of the hatching chicks can cause problems. As with so many things relating to incubation and hatching there is a lot of art to it, as well as science!
Chicks must be handled with great care when being taken off for boxing. They are very fragile and limb injuries at this age make them valueless.
The enormous volumes of hatch dust produced when taking chicks from the incubator can present a real health hazard to the operators. They should, at the very least, wear disposable dust masks when working in this area of the hatchery.
Chicks can be successfully vaccinated and treated with probiotics by coarse spraying when they are taken out of the setter (Fig 15). Be careful not to expose them to direct heat until they are dry, or you run the risk of chilling them.
Transport
Properly designed chick boxes (Fig 16) must be used if the birds are to travel any significant distance. If you are using plastic boxes, be sure that they are properly disinfected.
A suitable insulating material, such as shredded newspaper, should be used to ensure the comfort and safety of the birds in transport.
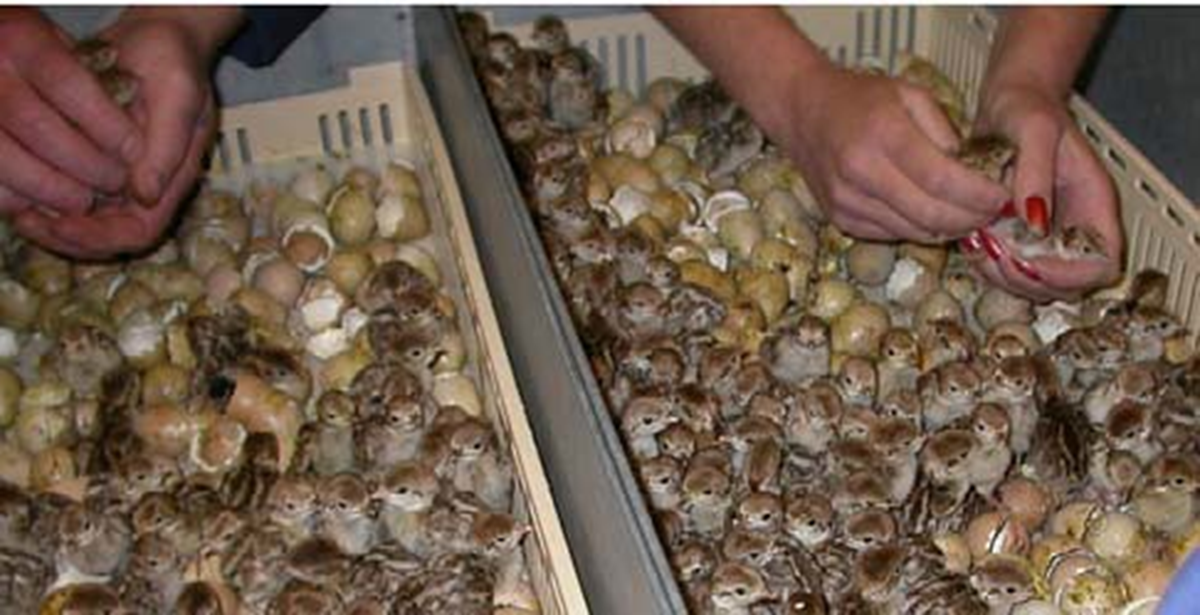
Fig 14: Hatchling chicks must be handled with care

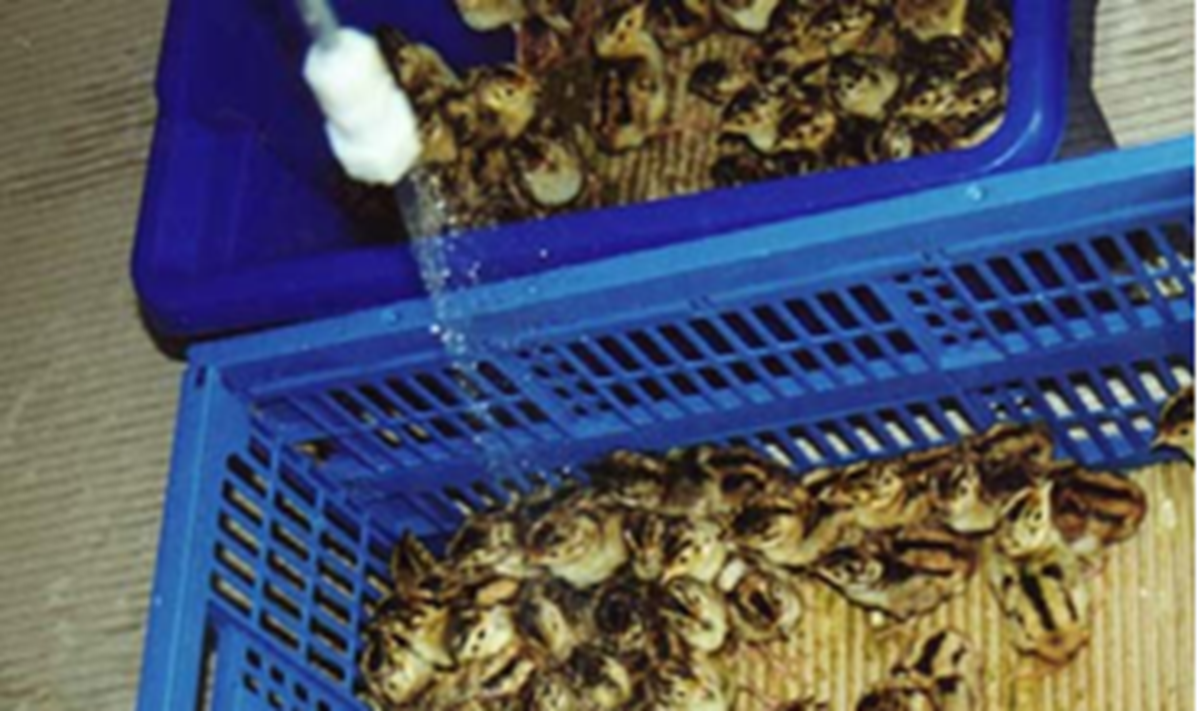
Fig 15: Vaccines and probiotics being sprayed onto chicks
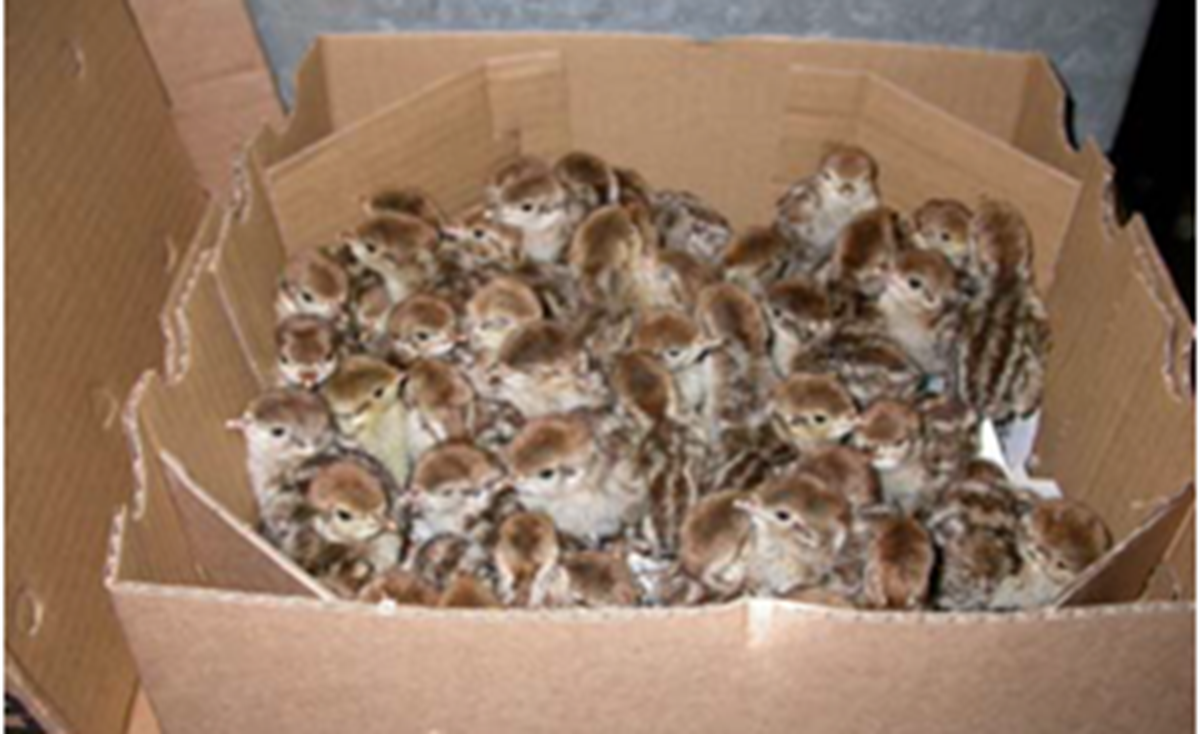
Fig 16: Use chick boxes for transport
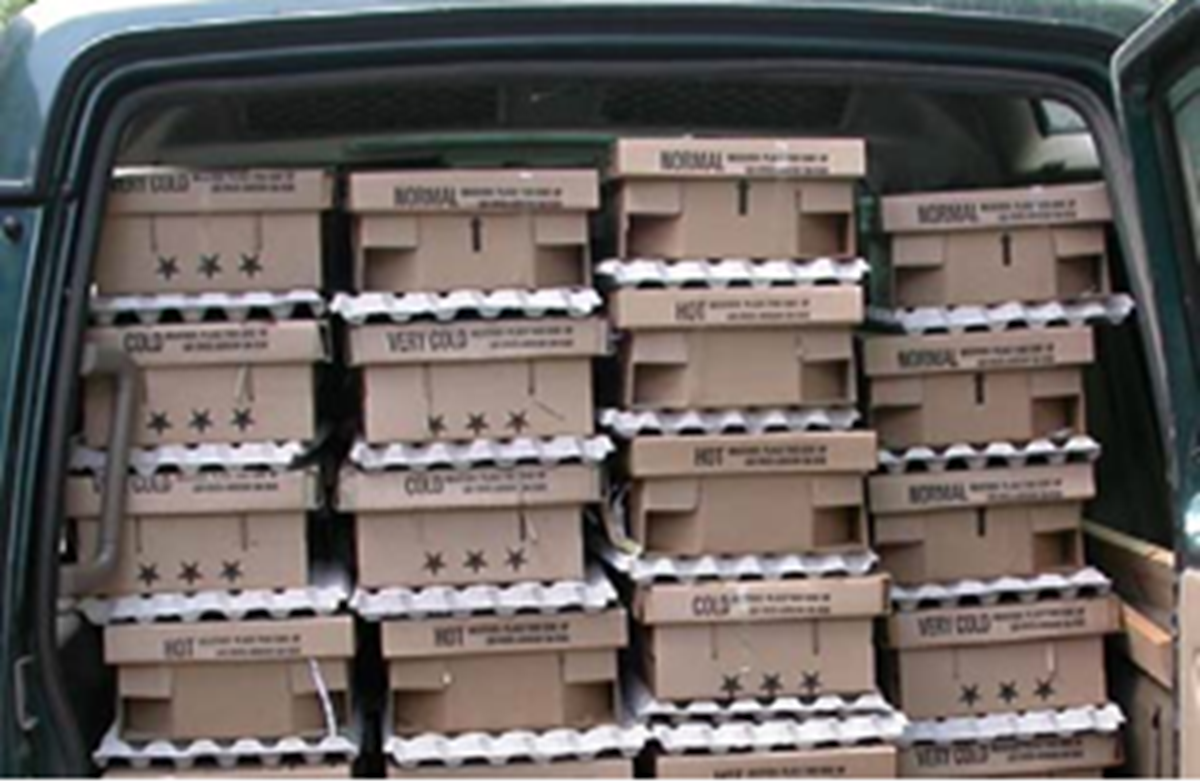
Fig 17: Over-heating in transport is dangerous
Pay very close attention to ventilation when transporting chicks. Remember that sunlight falling on vehicle windows can cause very rapid rise in temperature inside. Over-heating in transport (Fig 17) can lead to very high mortality in the first days of life.


